
プロンプトをしっかり入力しているのに、手や指が崩れてしまうという経験はないでしょうか?
手や指は他の要素に比べて複雑な構造をしているため、プロンプトだけでは再現が難しい場合があります。
そんな悩みを解決できるのが「Depth library」という拡張機能です。
手や指のDepth(深度)マップを使って、手や指を再現できます。
この記事では「Depth library」の具体的な使い方について解説します。
- 手や指の崩れを何とかしたい
- Depth libraryの使い方が知りたい
- 自分でDepth Mapsを追加したい
Depth libraryを使用するには事前にControlNetが必要です。
Depthモデルがあれば動かせるので、下記記事を参考にインストールしてみてください。

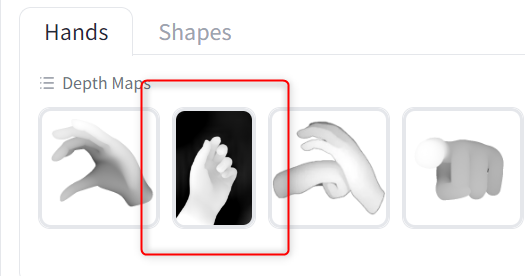
Depth libraryって何ができるの?
Depth libraryは、手や指などの深度情報を使って画像を修正できる拡張機能です。
Depth(深度)は画像の奥行など立体的な構造を表現できる情報を指します。
手や指が崩れてしまった画像に、このDepth情報を重ねることで修正が可能です。
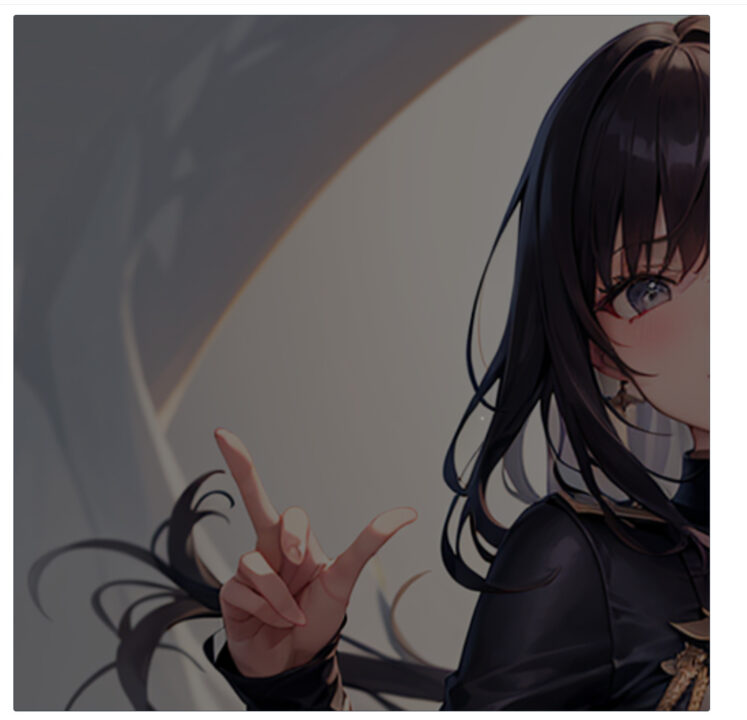
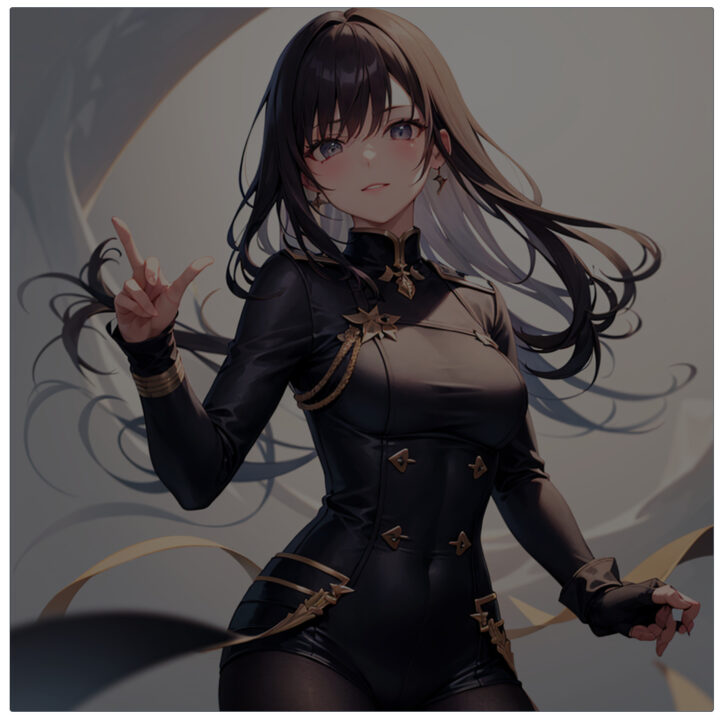
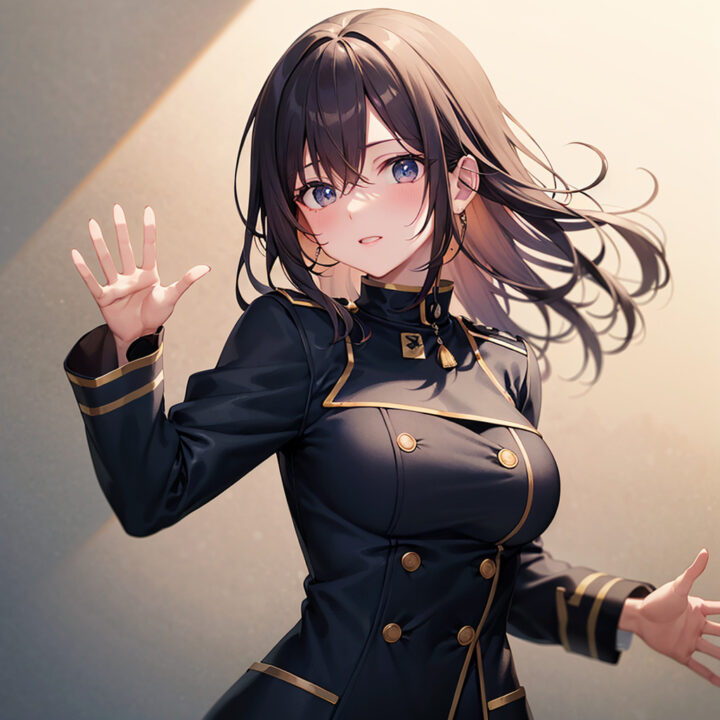
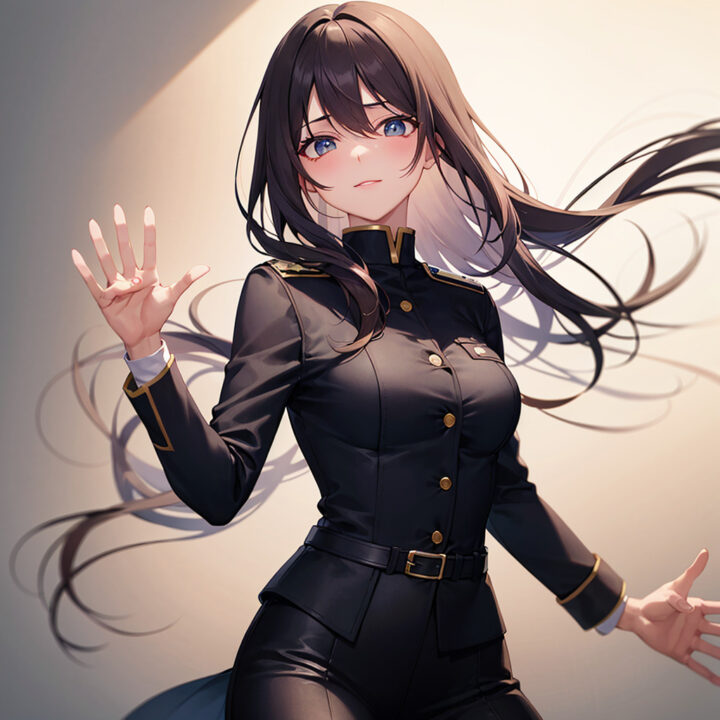
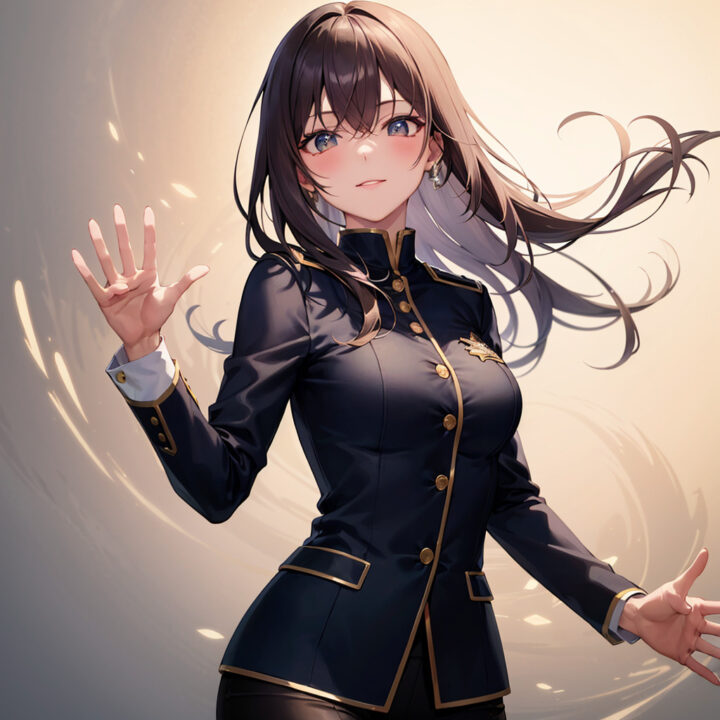
例えば以下のように手が崩れてしまった画像でも、Depth libraryで深度情報を与えることによって画像が修正できます。


Depth libraryのインストール
Depth libraryは手動でインストールが必要です。
「Extensions」タブから「Install from URL」を開き、「URL for extension's git repository」に下記URLを入力して、「Install」をクリックします。
https://github.com/jexom/sd-webui-depth-lib.git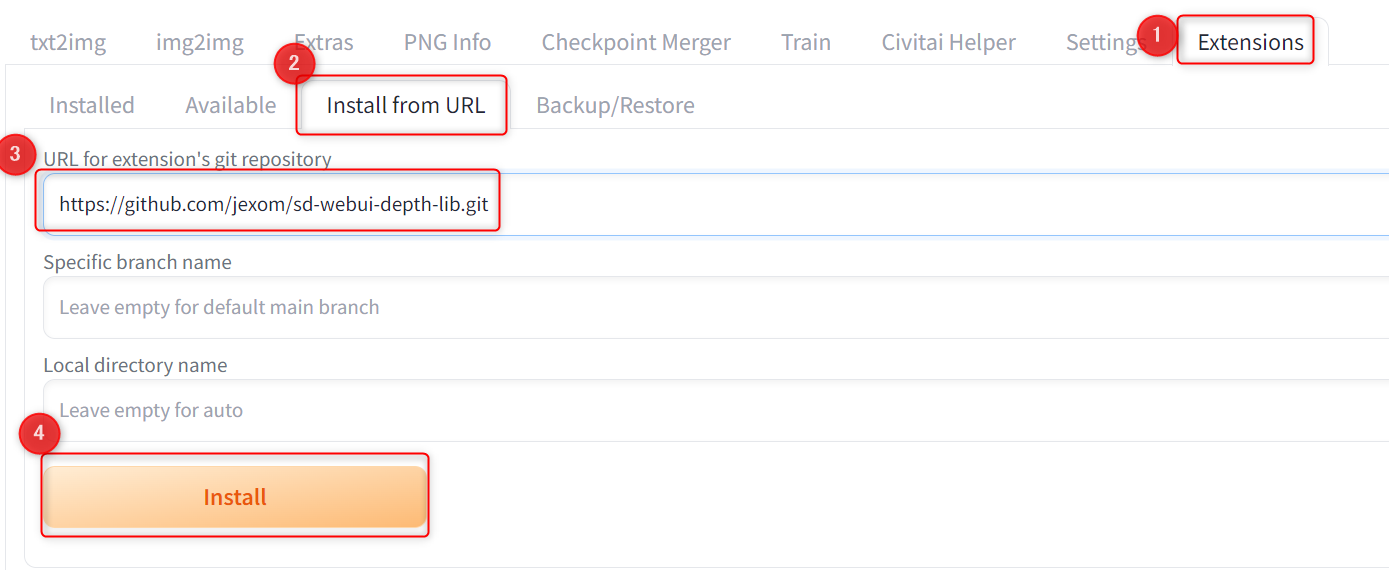
インストールが終わると、「Installd」タブに「sd-webui-depth-lib」が表示されます。
「Apply and restart UI」でWeb UIをリスタートすればDepth libraryが使用可能です。

Depth libraryの具体的な使い方
Depth libraryを使う方法はいくつかあるのですが、一番元画像に影響がないインペイントを使う方法をご紹介します。
手順は以下の通りです。
- Depth Librarで修正したい画像を取り込む
- Depth Mapsを作成する
- インペイントでDepth Mapsと画像を合わせる
Depth Librarで修正したい画像を取り込む
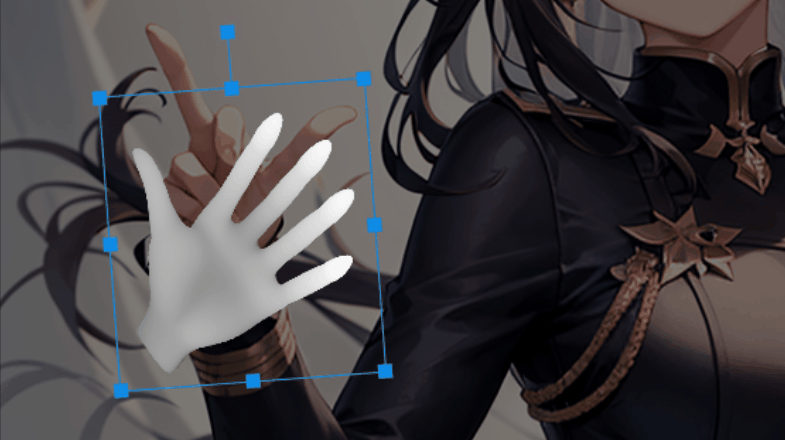
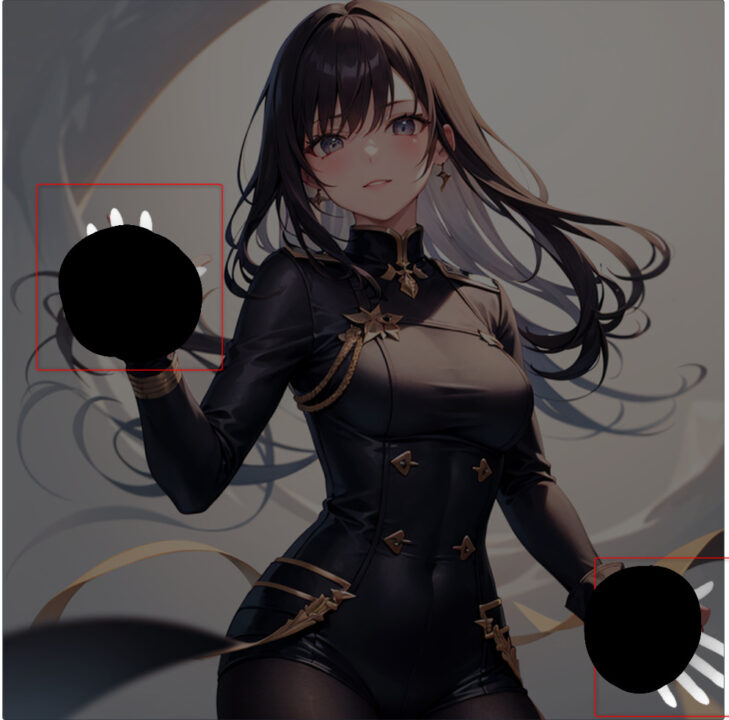
今回こちらの画像の両手を、パーの形に修正します。

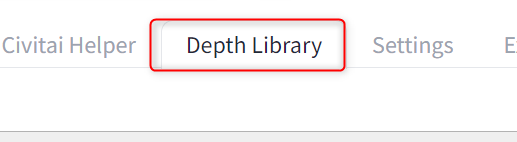
まずWeb UIにDepth libraryのタブが追加されているので、そちらを開いてください。
「Add background image」というボタンから修正したい画像を取り込みます。

そうすると右側に画像が表示されます。
もし上記のように画像が枠内に収まらない場合は、widthとheightの値を画像と同じサイズに変えてください。

そうすると枠内にしっかり収まります。
Depth Mapsを作成する
次にDepth Mapsから表現したい手や指を画像に合わせます。
画像に合わせたいDepth Mapsを選択して「Add」ボタンをクリックします。

そうすると右側にDepth Mapsが表示されるので、位置やサイズを調整して画像に合わせて下さい。
上に伸びてる部分をドラッグで回転、枠線を反対側まで引っ張ると反転できます。
ある程度納得できる調整ができたら、「Save png」でDepth Mapsを保存します。

インペイントで画像とDepth Mapsを合わせる
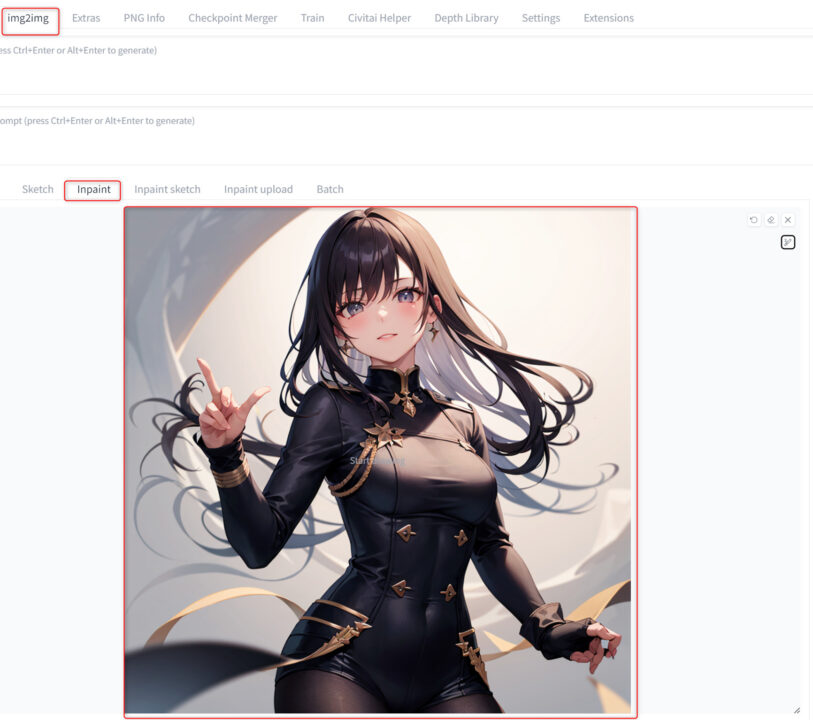
img2imgタブで画像とDepth Mapsを合わせます。
まずimg2imgタブのInpaintで修正したい画像を取り込みます。
ペンツールで修正したい箇所にマスクをかけます。
ペンサイズを変えたい場合はペンのアイコンからスライダーを調整してください。
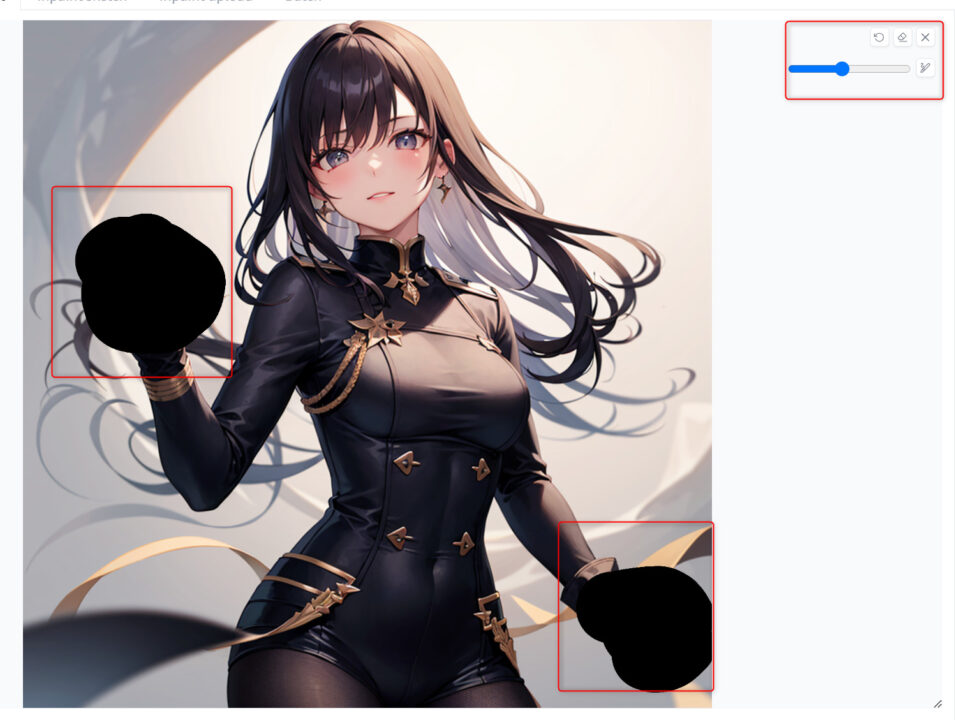
マスクをかけたら、取り込んだ画像とサイズを同じにします。
Resize toのタブにある三角のアイコンをクリックすれば、自動調整されます。

ControlNetでDepth Mapsを取り込んで、以下のように設定してください。
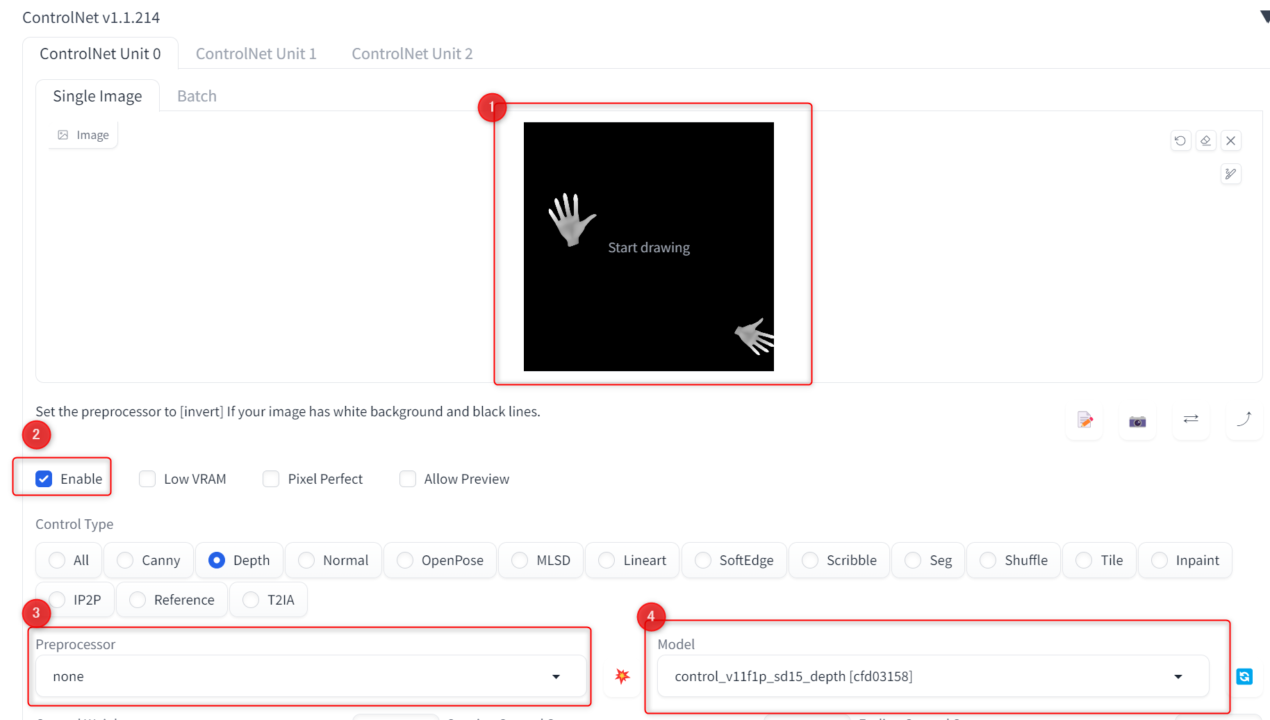
- Depth Mapsを取り込む
- Enbleにチェックを入れる
- Preprocessorはnone
- modelはcontrol_v11f1p_sd15_depth
この状態で「Generate」を開始すると、マスクをかけた部分に対してDepth Mapsが反映されます。

txt2imgでDepth libraryを使う方法
少し難しいですが、txt2imgでもDepth libraryは使えます。
基本インペイントとやり方は一緒です。
崩れてしまった画像を生成したときと同じプロンプト、シード値、設定のまま、ControlNetでDepth Mapsを取り込みます。
その状態でGenerateを開始すれば、Depth Mapsを反映した画像が生成されます。
ただデフォルトのままだと、Depth Maps込みの状態でノイズの追加・除去が行われるため、別の画像になってしまいます。
※手も若干崩れてます

ですので、元画像をあまり変化させずに指や手を修正するのであれば、パラメータの調整が必要です。
元画像を変化させたくない場合は、Starting Control Stepの値を増やして、ControlNetが適用されるタイミングを遅くします。

そうすると、元の画像の造形を維持できます。

ここからさらにノイズの除去強度や、プロンプト・ControlNetのどちらの要素を強くするかなどを調整していきます。
| Denoising strength | ノイズ除去強度 |
| Sampling steps/Hires steps | ノイズ除去工程の回数 |
| Control Weight | ControlNetの重さ(効き具合) |
| Balanced | プロンプトとControlNetの要素をバランスよく調整 |
| My prompt is more important | プロンプト重視 |
| ControlNet is more important | ControlNet重視 |
Starting Control Stepを0.1、Denoising strengthを0.55である程度元画像を維持したまま修正できました。
ただやはり服や背景が変わっていますし、手の形も少し怪しいです。
txt2imgだとパラメータの調整が難しいため、元画像を維持してDepth Mapsを反映させたい場合はインペイントをおすすめします。
Depth libraryをうまく使うコツ
Depth libraryを使ってもなかなか質感や形状がうまく表現できない場合もあります。
ここではDepth libraryをうまく反映させるコツについてご紹介します。
Depth Mapsのアスペクト比はなるべく維持する
Depth Mapsのサイズを変更するとき、アスペクト比を変えてしまうと上手く表現できない場合があります。
アスペクト比は縦と横の長さの比率です。
Depth Mapsが縦長や横長になってしまうと、形が崩れてしまうことがありました。
サイズは四隅をドラッグして変更するなど、可能な限り元のアスペクト比を維持したまま使うのがおすすめです。
インペイントのマスクは大きめにかける
インペイントでマスクをかけるとき、Depth Mapsを表示する領域よりマスクが小さいと、はみ出たDepth Mapsの部分は反映されません。
Depth Mapsを表示する領域より少し大きめマスクをかけてあげると、しっかり反映できます。
肌の質感を表現したい場合は調整が必要
txt2imgで元画像が崩れないようにパラーメータを調整しましたが、インペイントでも手や指の質感に違和感がある場合は調整が必要です。
例えば以下のように「Control Weight」や「Denoising strength」の値によって、Depth Mapsの再現率が異なります。
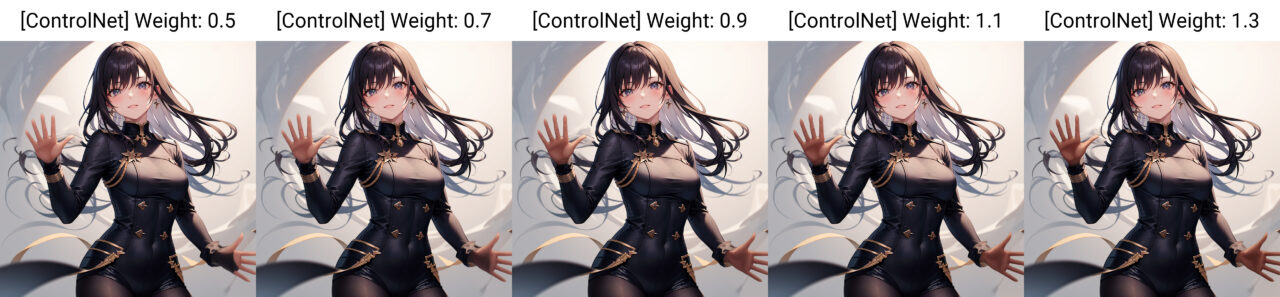
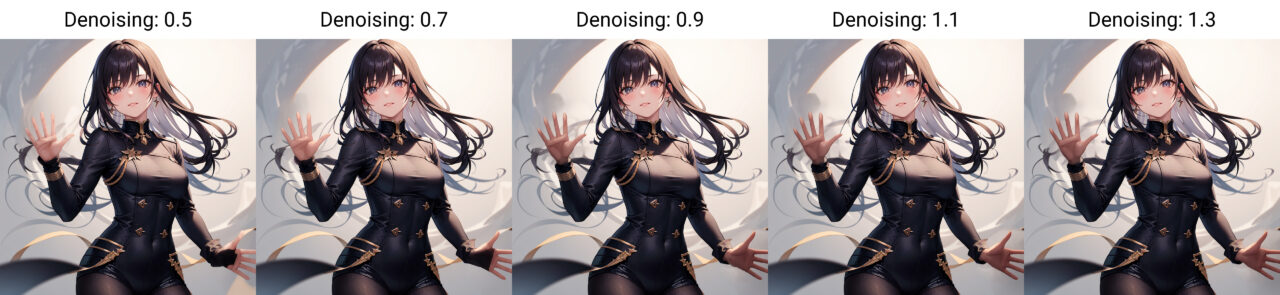
わずかに値を変えるだけでも影響がでるため、調整しながら納得できる値を探してみてください。
自分でDepth Mapsを追加する方法
Depth Mapsの素材を配布しているサイトなどが見当たらなかったので、自分でDepth Mapsを作る方法をご紹介します。
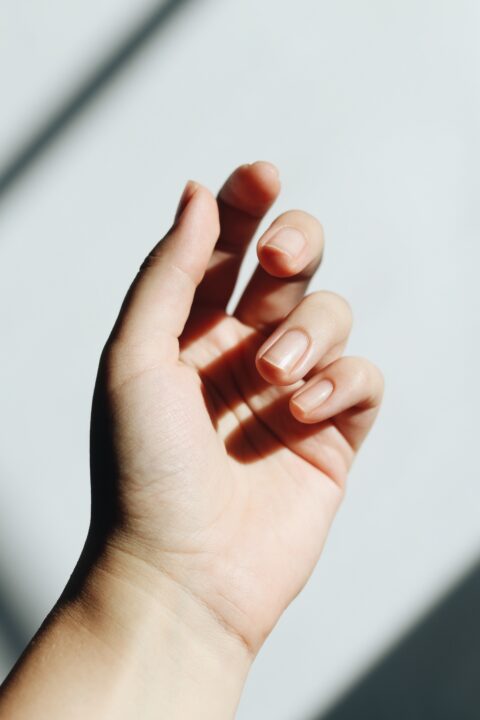
商用利用可能な画像を提供しているサイトから、Depth Mapsを作成したい画像をダウンロードします。
今回こちらの手の画像をお借りしました。
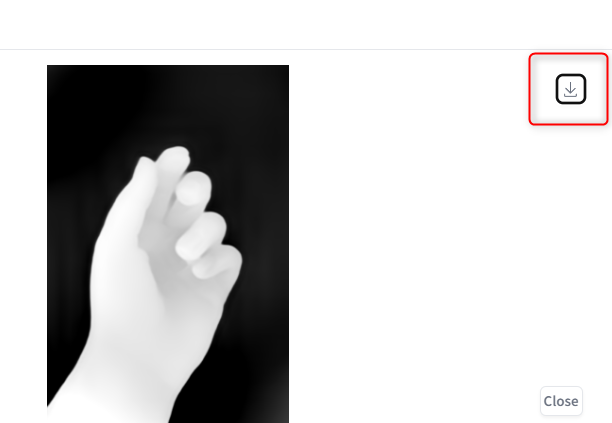
ControlNetで取り込み、プリプロセッサーを動かしてDepth Mapsを抽出します。

Depth Mapsは右上の矢印アイコンから保存可能です。
画像は以下のパスに入れてください。
stable-diffusion-webui\extensions\sd-webui-depth-lib\maps\handsこれでWeb UIをリロードすると、フォルダに入れたDepth Mapsが追加され使用できるようになります。
どのプリプロセッサーでDepth Mapsを抽出するかによって再現性が異なるため、いろいろ試してみてください。
手の崩れを防ぐならTextual Inversionも有効
Textual Inversionは、モデルに対して追加の学習データを適用できるものです。
easynegativeなどが有名ですが、短いプロンプトで複数のネガティブ要素を除外できます。
このTextual Inversionには手の崩れを抑えるのに特化したものもあり、badhandv4などを使うと比較的綺麗な手が生成できます。
Depth Mapsだと質感を調整するのが少し難しく、1枚の修正に時間がかかってしまうため、Textual Inversionの使用も検討してみてください。
具体的な使い方などはこちらの記事で解説しています。
Depth libraryの使い方まとめ
今回はDepth libraryを使い方について解説しました。
- Depth libraryって何ができるの?
- Depth libraryのインストール
- Depth libraryの具体的な使い方
- Depth libraryをうまく使うコツ
- 自分でDepth Mapsを追加する方法
Depth libraryを使えば、崩れてしまった指や手を簡単に修正することができます。
元画像の質感や色に馴染ませるのは難しい部分もありますが、そこは経験やスキルでカバーしていくしかありません。
いろいろ試行錯誤して、うまく合わせられる設定や値を探してみてください。
